DIY 101: Easy Summer Projects for First-Time Homeowners
Brody Hval, Mortgage AdvisorJune 26, 2023 — 7 min read
You did it—you’re officially a homeowner, and with this new title comes exciting opportunities to shape your living space to align with your preferences and unique style. The canvas is yours to paint, and the possibilities are endless.
While the realm of home improvement may feel daunting at first, especially for first-time buyers, fear not: we’ve compiled a collection of safe and easy do-it-yourself projects that are perfect for beginners like you. These projects will empower you to put your personal stamp on your space and serve as stepping stones towards more ambitious undertakings down the road.
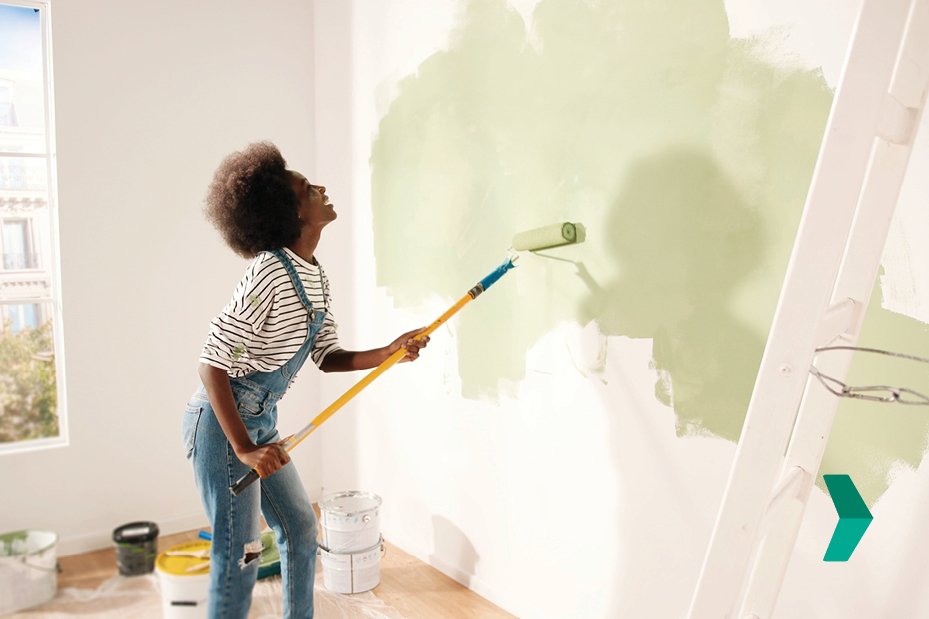
Paint Your Walls for a Fresh, Clean Look
Repainting walls can instantly refresh the look and feel of any room. Whether you want to add a splash of vibrant color or opt for a soothing neutral tone, a simple change of color can transform the ambiance and breathe new life into your space. However, before getting started, keep these considerations in minds:
Which paint color is best? When selecting a paint color, consider the mood and purpose of the room; lighter shades like soft pastels or whites can make a room feel more spacious and airy, while bolder hues add a sense of drama and personality. Don't forget to account for existing furniture and decor in the room and aim for a harmonious color palette that complements your style.
RELATED: Sayonara, Shiplap: Decorating Trends on the Way Out in 2023
Which paint finish is best? The finish of the paint is just as important as the color. Matte finishes provide a subtle, sophisticated look and are great for hiding imperfections. Semi-gloss or satin finishes offer a gentle sheen and are more durable, making them ideal for high-traffic areas like kitchens or bathrooms. Consider the functionality and desired aesthetic of the room when selecting the paint finish.
What other supplies will I need? In addition to paint color and finish, there are a few essential supplies you'll need for a successful painting project. Here's a quick checklist:
- Paintbrushes and rollers
- Painting tape
- Drop cloths or plastic sheets
- Sandpaper and spackling paste
- Primer
- Paint trays and stir sticks
Now, it’s time to paint. Begin by cutting in the edges with a brush and then move on to rolling the larger areas with a roller brush; apply thin and even coats, allowing each coat to dry completely before applying the next. Take your time and pay attention to detail for a professional-looking finish.
Add Shelving to Enhance Functionality & Aesthetic
Whether you need additional storage space or want to showcase your favorite decor pieces, adding shelves to a space can transform an ordinary wall into a functional and stylish focal point. Before diving into the installation process, review these important points:
Measure and mark for proper placement. Consider the items you plan to display or store on the shelves—will they fit comfortably within the allotted space? Use a level and measuring tape to mark the desired height and distance between shelves, ensuring they are evenly spaced and aligned.
Install the brackets. Once the measurements and markings are in place, install the brackets and secure the shelves. Start by attaching the brackets to the wall, ensuring they are level and securely anchored. Use a stud finder to locate and secure the brackets to the studs for added stability; if studs are not available, use wall anchors or toggle bolts to provide strong support.
Place and secure the shelves. Carefully place the shelves onto the brackets, ensuring they sit level and align with the markings on the wall; double-check the alignment and make any necessary adjustments before finalizing. When securing the shelves, use appropriate screws or hardware provided with the brackets and ensure a tight fight. Test the stability of the shelves by gently applying pressure and ensure they can safely support the intended weight.
RELATED: One-Day Home Projects You Have to Try
Replace Light Fixtures
Outdated or inefficient fixtures can cast a dull and uninspiring light, while modern and energy-efficient options can transform your space into a warm and inviting escape. Follow these steps for an easy and safe installation process:
Turn off power to the light fixture. Safety should be top of mind for any home improvement projects, but especially for those involving electricity. Before anything else, it’s important to turn off the power to the light fixture at the circuit breaker. You may want to use a voltage tester to double-check the power is turned off before proceeding.
Remove the old fixture. Start by unscrewing any decorative elements or light bulbs and carefully disconnecting the wiring; pay close attention to how the old fixture is mounted and take note of any screws or brackets that need to be removed. Detach the fixture from the ceiling or wall mount and set it aside.
Install the new fixture. When it comes to installing the new light fixture, carefully follow the manufacturer's instructions. Begin by connecting the wiring, ensuring that the corresponding wires (usually black to black, white to white, and green or copper to the grounding wire) are securely joined together using wire nuts. Gently tuck the wiring back into the electrical box and align the fixture with the mounting bracket or screws. Secure the fixture in place, making sure it is level and firmly attached.
Consider energy efficiency. You may want to use the opportunity to install LED or energy-efficient bulbs that consume less electricity and have a longer lifespan.
RELATED: Tips to Save Energy & Money at Home This Summer

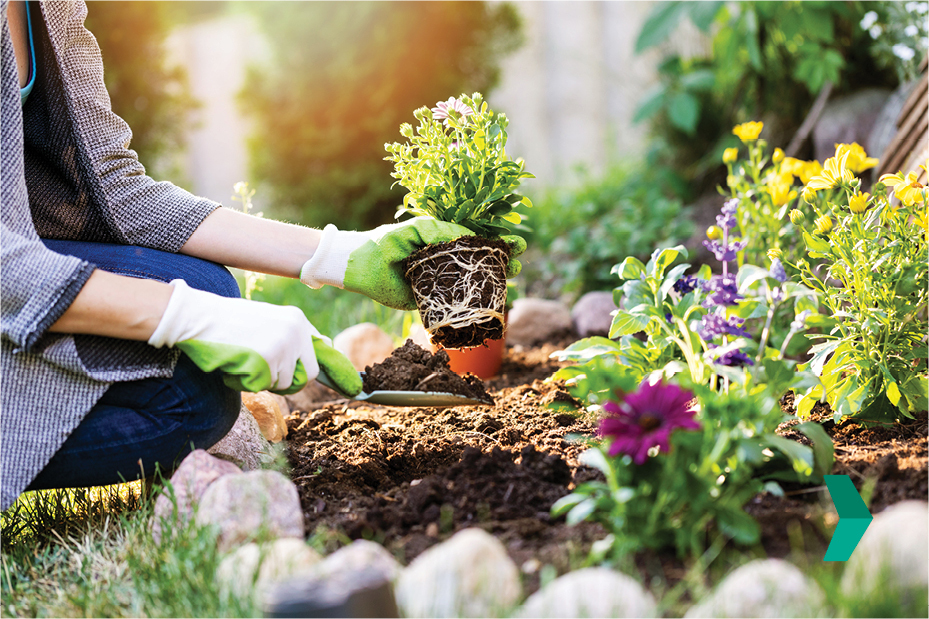
Enhance Outdoor Spaces with Simple Landscaping
By undertaking a few straightforward and cost-effective landscaping projects, you have the power to completely transform your outdoor area and enhance the aesthetics of your property. Here are a few simple tips to get started.
Focus on key elements of your outdoor space. Pay close attention to trimming hedges, planting flowers, and mulching garden beds; trimming overgrown hedges and shrubs not only enhances the neatness of your property but also allows natural light to penetrate, creating a more open and inviting atmosphere.
RELATED: Landscaping Ideas to Boost Home Value
Add colorful flowers and plants. Consider planting seasonal flowers that thrive in your climate and complement the style of your home. Choose a variety of flowers with different heights, colors, and textures to create visual interest. Whether you opt for cheerful annuals or low-maintenance perennials, a well-planted flower bed can provide year-round beauty.
Mulch around trees and garden beds. This not only improves the appearance of your garden but also helps retain moisture, suppresses weed growth, and regulates soil temperature. Organic mulch, such as wood chips or shredded bark, adds a natural aesthetic and enriches the soil as it decomposes over time.
Create a consistent watering schedule. Determine the watering needs of different plants around your home and set up a consistent watering routine to keep them thriving. Consider installing a drip irrigation system or using soaker hoses to efficiently deliver water directly to the roots while minimizing water waste.
RELATED: Drought-Tolerant Landscaping to Reduce Lawn Maintenance
If you’re adding plants or trees to your landscape, remember to consider your budget and the level of maintenance you can commit to—opt for low-maintenance varieties if you have limited time for upkeep.
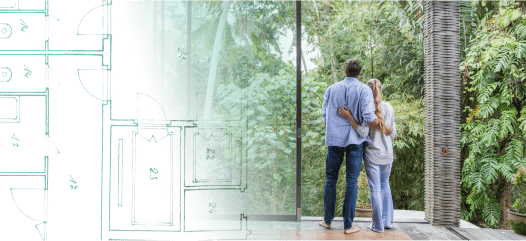
What’s Your Next Move?
PacRes Mortgage is here to help make your homeownership journey safe and easy, no matter what you’re working towards. Reach out today to take a confident next step, or click here to check out other recent blogs.
Keywords:
Categories
Archives
Recent Posts
- No Down Payment for First-Time Homebuyers
- How Does A 30-Year Mortgage Work: A Simple Guide
- Your Comprehensive Homebuying Checklist: A Step-By-Step Guide
- Mortgage Pre-Approval: Everything You Need to Know
- What Are the Benefits of a USDA Loan for Homebuyers?
- How Many People Can Be On A Home Loan? Your 2024 Guide
You bring the dream. We'll bring the diagram.
There’s a financing solution for just about every situation.
I felt like I was treated like family, great communication and helping me with any questions I had.
You bring the dream. We'll bring the diagram.
There’s a financing solution for just about every situation.
Where does your sun shine? Find your local advisor.
Enter your city or state to see advisors near you.