< Back to News & Insights
Silk Dye DIY: How To Create Mess-Free Easter Eggs
April 12, 2019 — 8 min read
Have you ever found yourself looking at someone else's gorgeous Easter Eggs and wondering how much time, effort, and money that project took? Want the look of dyed eggs minus the unpleasant addition of dyed fingers, clothing, and furniture? We've come across an amazing innovative method for silk dye Easter Eggs. It's mess-free, simple, and even better, with the method we're going to show you, it's using reused products and empty egg shells, so you can store the finished product and use it for decorating year after year. Since the eggshells are blown, you can also use the egg yolk and white before you dye the eggs. That's right; it's possible you already have everything you would need for this silk dyed eggs project somewhere inside your house because we believe in DIY projects that are tasteful, not wasteful!
 Equipment List


 Overall, this was a super fun and easy project resulting in unique silk dyed eggs. If you have kids, they can help with every step except the boiling water, so this is a great project for the family to do together.
Equipment List
- Eggs (we used one dozen)
- Water (enough to cover the eggs in a pot)
- 1/4 C Vinegar
- Large Pot
- Stove
- Metal Steamer Basket, Colander, or something similar (only if using blown eggs)
- 100% Silk fabric scraps (we used ties and scarves from goodwill)
- Twist Ties, yarn, or string
- Lightweight light colored fabric (we used an old pillowcase)
Instructions
o The first step is to cut the silk into pieces large enough to cover an egg.
If you're using ties, you'll need to deconstruct the tie, cutting away the lining and any labels that might interfere with the pattern on the silk. Remember, it's very important to use 100% silk fabric for this. The more vibrant the colors on the silk, the more vibrant the finished eggs will be (see tips section below). Often, the ugliest ties make the best eggs, so this is a good opportunity to raid the closet, and get rid of any groan-worthy ties you might have lying around! You don't have to use ties though; a silk blouse or scarf will work just as well. If you're going to the thrift store to gather your silk, keep this in mind and browse through multiple departments to see what you can find.
o Next, wrap the silk around the egg.
Make sure you put the right side of the fabric in contact with the eggshell. The right side is the printed side--the part of the tie, blouse, etc. that would normally be on display to the outside world. Wrap the fabric snugly against the egg. For the best results in pattern transference, you want as much direct contact with the fabric as possible. Secure the ends of the silk with string, yarn, rubber bands, or twist ties. Twist ties are by far the easiest and fastest method, but you can use whatever you have handy.
o Wrap the light colored fabric around the silk-wrapped eggs.
For this step, you can use an old pillowcase, sheet, dishcloth, etc. You need something thin and light colored. You'll need to cut it into pieces to wrap around the eggs, so make sure it's something you're ok with destroying. This will help protect against most cross-coloration from each separate egg. Wrap the fabric around the outside of the silk-covered eggs, securing at the same end you previously tied the silk.o Boil the eggs in water/vinegar solution.
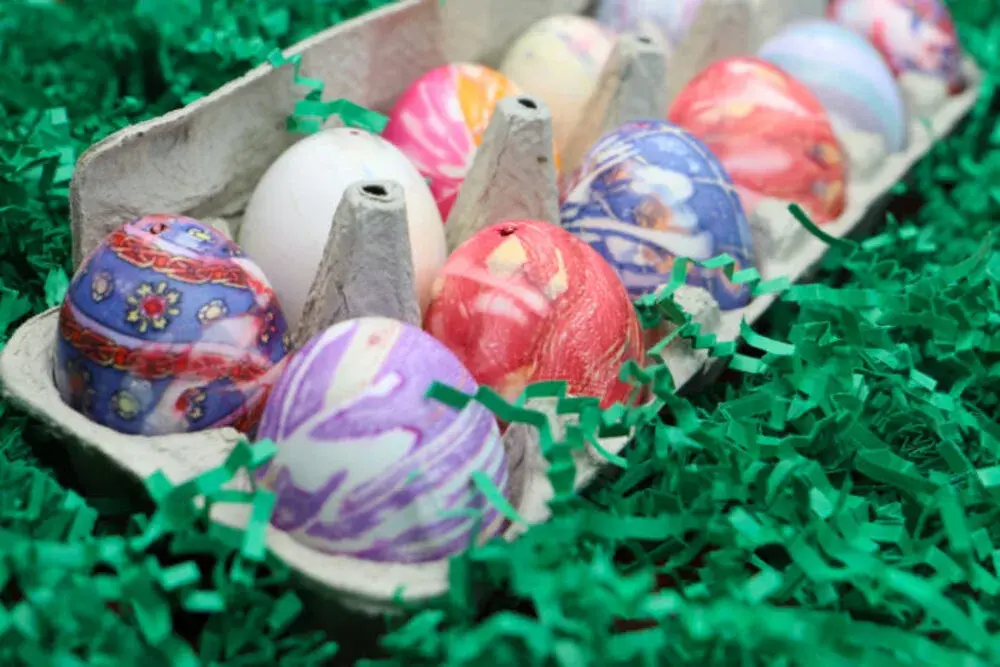
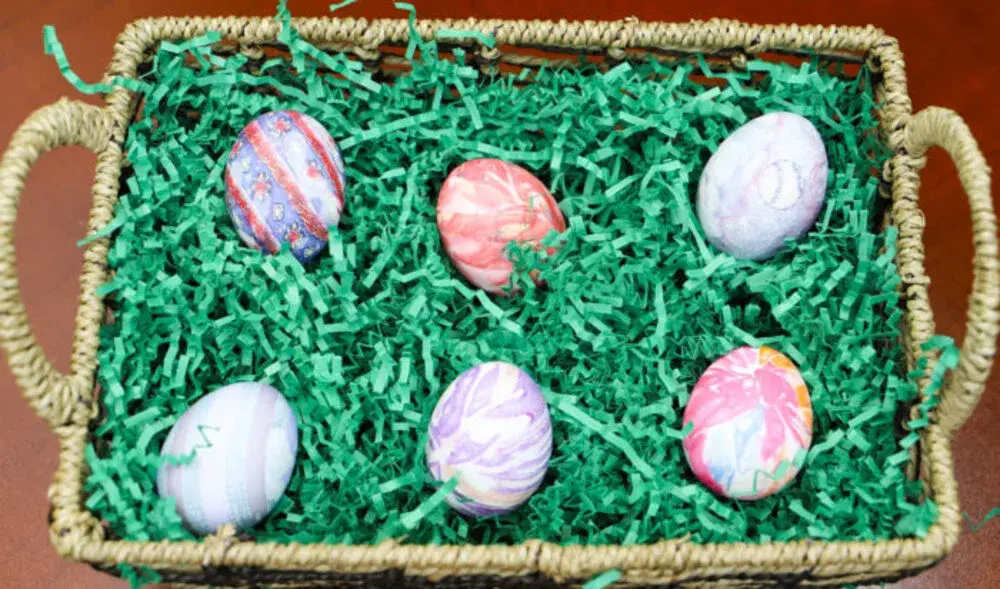
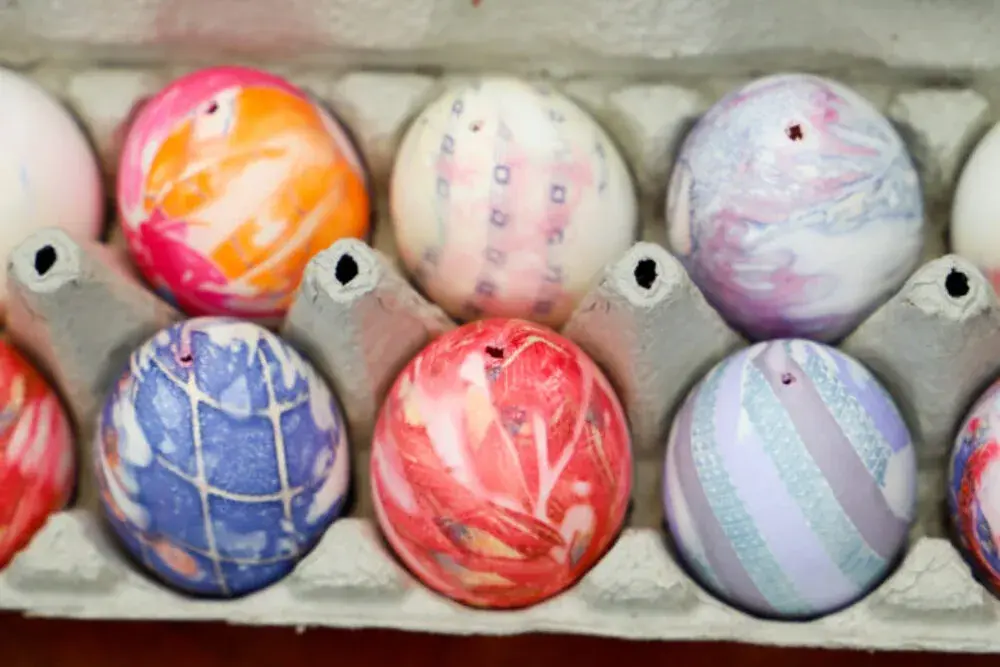
After you've wrapped all the eggs, put them in a pot and cover them with water. Add 1/4 C vinegar, and bring to a boil. If you are using blown eggs, you'll need to weigh them down with something to keep them below the water line. We used a metal steamer basket, but you can use a plate, colander, or anything else that is heat-safe and heavy enough to weigh down the eggs without crushing them. Let the eggs boil in the vinegar solution for about twenty minutes. After boiling, carefully remove the eggs and set them aside to cool in a colander or on a dishtowel on your work surface. Once they're cool enough, you can remove the fabric and admire the finished product! Look at these awesome silk patterned eggs! Look at your hands too, and admire how dye-free they are!
Tips:
- If you're not using blown eggs, no need to pre-boil the eggs--they will cook during the dyeing process.
- We recommend that you do not eat the finished eggs, since there is no way to know what kinds of dyes were in the original silk pieces, and chances are, they were not food-safe dyes.
- Remember how ugly ties make interesting eggs? If you look at our photo of the ties, you'll see some sports-related ones. Check out how neat those eggs turned out!
- This process does not work on artificial eggs.
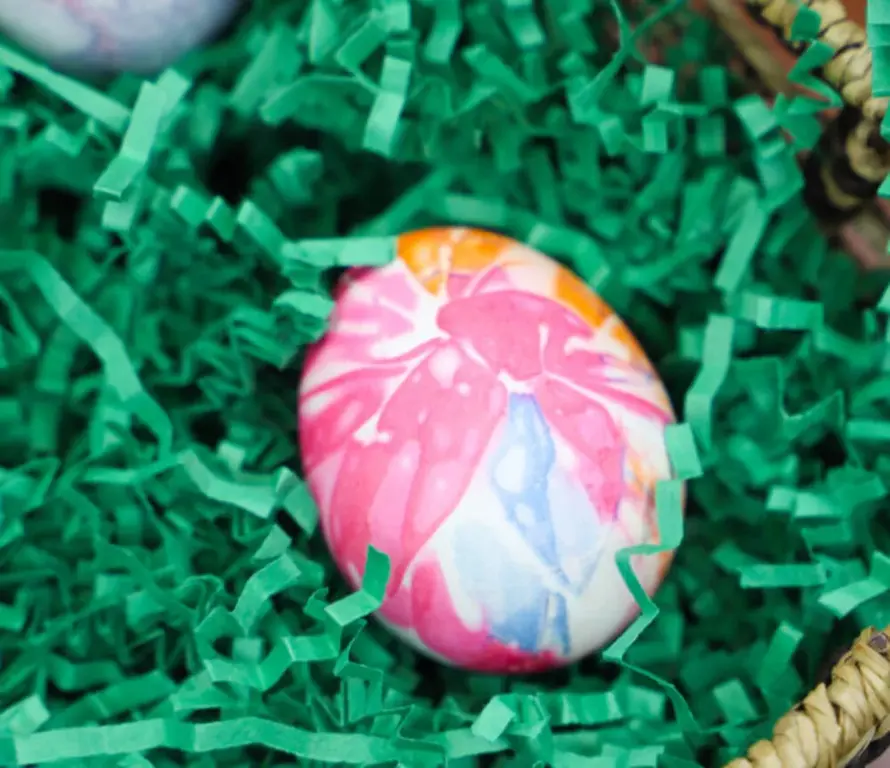
- The part of the egg where you wrapped the silk ends will get a neat swirl effect, so choose where you want that to show up.
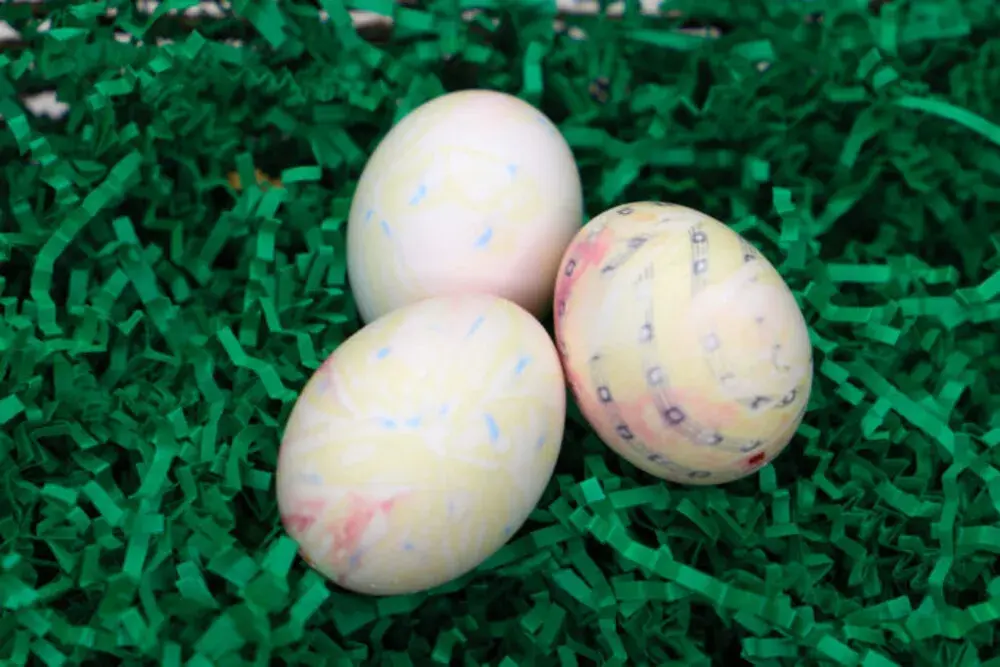
- Bright colors work the best. As you can see from this photo, the eggs we used the yellow ties on did not work out very well. Not only did the yellow dye not transfer well, but also the red dye from another tie bled over into these eggs. Purple, red, green, and blue have all worked really well for us so far.
- You can reuse the pieces of silk after the first dye process, but the colors will fade more each time.
How to blow out the contents of an egg to prep for silk dye:
You can watch a video tutorial here, but it's a pretty straightforward process, so we've broken it down for you as well.
? Wash off the exterior of the egg using a mixture of water and dish soap.
This will help ensure the silk dye transfers evenly.? Place a small piece of tape on each end of the egg.
The tape will help stabilize the surface and prevent the egg from cracking when you poke the holes in each end. We recommend clear or masking tape, as they will not leave a residue when you peel them off.? Poke a small hole in both ends of the egg
Using a thumbtack, pin, or any other object with a thin pointed tip, poke a small hole in the top of the egg. Gently press the pointed end through the tape, and twist it carefully to widen the hole. Flip the egg over, and poke a slightly larger hole in the bottom end using the same process. Make sure you're holding the egg over a cup or bowl if you plan on cooking with the contents, otherwise, hold it over the sink to avoid making a mess if it drips during this process.? Scramble the contents of the egg
Insert a toothpick into either hole and wiggle it around to break up the contents of the egg. Pre-scrambling the contents will make it easier to blow everything out. If you're not planning on cooking with the egg contents, you can also do this with a paperclip or a needle. Be careful not to wiggle too forcefully, or you'll crack the egg.? Blow through the small top hole to push the contents out the larger bottom hole
Using your mouth, blow against the top of the egg. Blow forcefully, and the contents will come out the bottom hole as you blow. Do this over a bowl if you're going to cook with the egg, or over the sink if you're not. If you don't want to use just your mouth, you can use a straw held over the top hole, or a nasal aspirator, more commonly known as a baby snot sucker.? Rinse the shells and let them dry before you dye them
Gently run water over the eggshells to remove any extra contents that may still be inside. Set them on a towel or back in the carton to dry. Make sure they're fully dry before you start decorating. Otherwise, the colors will not transfer as well.
Overall, this was a super fun and easy project resulting in unique silk dyed eggs. If you have kids, they can help with every step except the boiling water, so this is a great project for the family to do together.
If you do this project, we'd love to hear feedback from you. Post photos on our Facebook page. We'd also love to hear from you if you have any questions about any part of the home financing process. Contact us today or fill out the form below!
Keywords:
Categories
Archives
Recent Posts
- Use Your Tax Refund to Make Your Mortgage Work For You
- What’s the ‘Lock In’ Effect? Break Free Using Home Equity
- Want to Boost Home Value? Home Renovation Costs Baked into Your Mortgage
- The Blueprint to Building Credit for First-Time Homebuyers
- Which is Better for You? Standard vs. Itemized Deductions
- I Bought a Home: What Documents Will I Need for Taxes?
Getting started >
You bring the dream. We'll bring the diagram.
There’s a financing solution for just about every situation.
{ include "_components/button" with {
primary: false,
value: "Let's go get it",
link: '/mortgage-loans',
icon: true
} %}
What our clients say >
I felt like I was treated like family, great communication and helping me with any questions I had.
Getting started >

You bring the dream. We'll bring the diagram.
There’s a financing solution for just about every situation.
Find an advisor >
Where does your sun shine? Find your local advisor.
Enter your city or state to see advisors near you.
Careers at PacRes>

We’re growing. Grow with us.
Careers at PacRes reward excellence in mortgage banking.
Build a better tomorrow